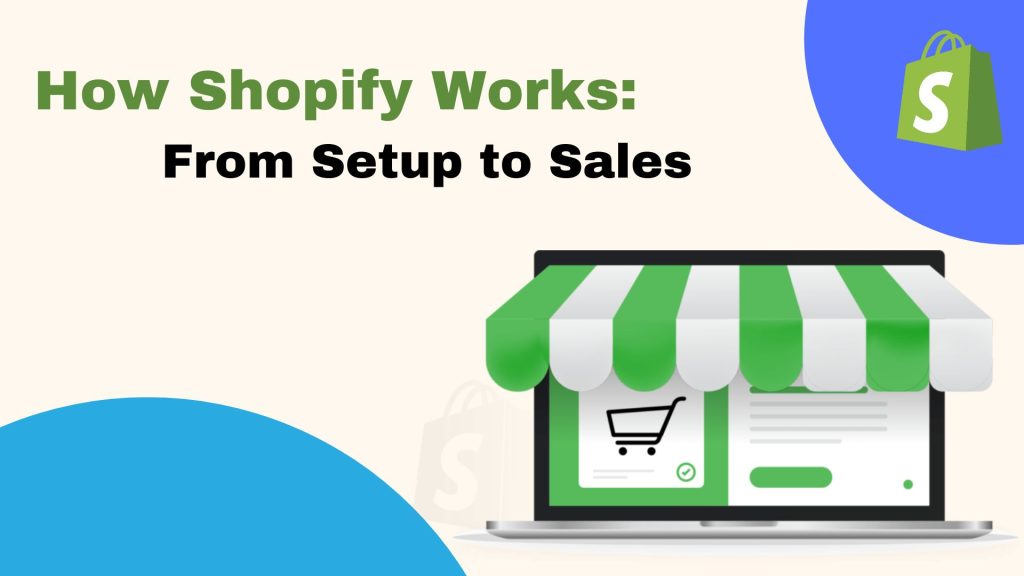
Shopify is one of the most popular e-commerce platforms that allows individuals and businesses to create, customize, and manage an online store without needing technical expertise. Whether you’re a beginner or an experienced seller, Shopify provides all the tools needed to sell products online, in person, and through social media.
In this guide, we’ll walk you through the entire process of how Shopify works, from setting up your store to making your first sale.
1. How to begin with Shopify
Step 1: Setting Up Your Shopify Store
- Sign Up for Shopify Go to Shopify’s website and sign up for a free trial (usually 3 days).
- Enter your email, store name, and basic details to create an account.

Shopify Partner Login (For Developers & Agencies)
If you’re a developer, freelancer, or agency looking to build and manage Shopify stores for clients, you can sign up as a Shopify Partner.
- Visit the Shopify Partner login page.
- Create an account to access the Shopify Partner Dashboard.
- Partners can create development stores and manage multiple client stores
")
Step 2: Choose a Shopify Plan
Shopify offers different pricing plans based on your business needs:
- Basic Shopify: For small businesses and startups.
- Shopify: ideal for growing businesses.
- Advanced Shopify: Best for scaling businesses with higher sales.
- Shopify Plus: enterprise-level solution with advanced features.

Step 3: Select and Customize a Theme
- Choose from free and paid themes in the Shopify Theme Store.
- Use the Shopify Theme Editor (no coding required) to customize layouts and colors.
- Advanced users can modify the theme using Liquid’s template language.

Step 4: Add Products to Your Store
- Go to Products > Add Product in the Shopify dashboard.
- Enter details like title, description, media, price, and inventory.
- Set up product variants (size, color, material, etc.).
- Optimize SEO settings (meta title, description, and URL) for better visibility.

Step 6: Configure Payment & Shipping Settings:
- Choose Shopify Payments, PayPal, Stripe, or other payment gateways.
- Set up shipping rates based on weight, price, or location.
- Enable automatic tax calculation for international sales.

2. Creating a Custom Section Using Shopify Liquid
What is Shopify Liquid?
Liquid is Shopify’s templating language, used to customize Shopify themes. It allows you to display dynamic content and modify the structure of your store.
How to Create a Custom Section?
Step 1: Open the Shopify Theme Editor In your Shopify admin,
- Go to Online Store > Themes.
- Click Actions > Edit Code.
Step 2: Create a New Section In the Sections folder,
- Click Add a new section.
- Name it (e.g., custom-banner).
- Paste the following liquid code:
<div class="custom-banner"><style> |
Step 3: Add the Section to Your Homepage
- Go to Online Store > Themes > Customize.
- Click Add Section and select Custom Banner.
- Upload an image and edit the heading.
Why use liquid for custom sections?
✅ Dynamic Content: Display different content based on user actions.
✅ Custom Layouts: Modify sections to match your branding.
✅ Better User Experience: Create interactive sections without extra apps.
3. Launching and Growing Your Shopify Store
- Testing & Launching Preview your store and test checkout.
- Set up Google Analytics and Facebook Pixel for tracking.
Marketing & Sales SEO
- Optimization: Use keywords and meta descriptions.
- Email & SMS Marketing: Grow your customer base.
- Influencer & Social Media Marketing: Run ads and collaborations.
4. Managing Orders & Scaling
- Your business handles orders and shipping efficiently using Shopify’s dashboard.
- Upsell and cross-sell to increase order value.
- Expand to international markets with Shopify’s built-in tools.
Final Thoughts: Is Shopify Right for You?
Shopify is a powerful, flexible, and scalable platform for launching an online store.
By using Liquid, you can take customization to the next level and create a store that stands out.
🚀 Prepared to begin? Sign up for Shopify and build your store today!