

Turn on your Terminal and use the “cd” command to navigate to your folder (mine is called “shopify-cli-theme” and contains the new “Dawn” theme)
| cd shopify-cli-theme |
Additionally, press ENTER after each GIT command. After that, you’ll start an empty repository:
| git init |
You will receive the following response:
| Initialized empty Git repository in C:/Users/CC1/shopify-cli-theme/.git/ |
Now we need to use the “git add” command to add our first commit command:
| git add . |
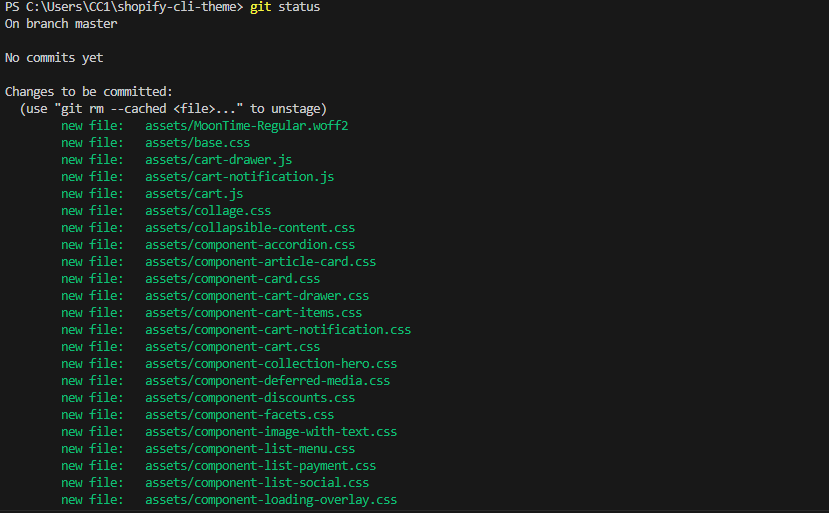
To confirm that everything has been added correctly, run the “git status” command:
| git status |
When everything is set up, we will now enter:
| git commit -m “first commit” |
We are done when you press enter.
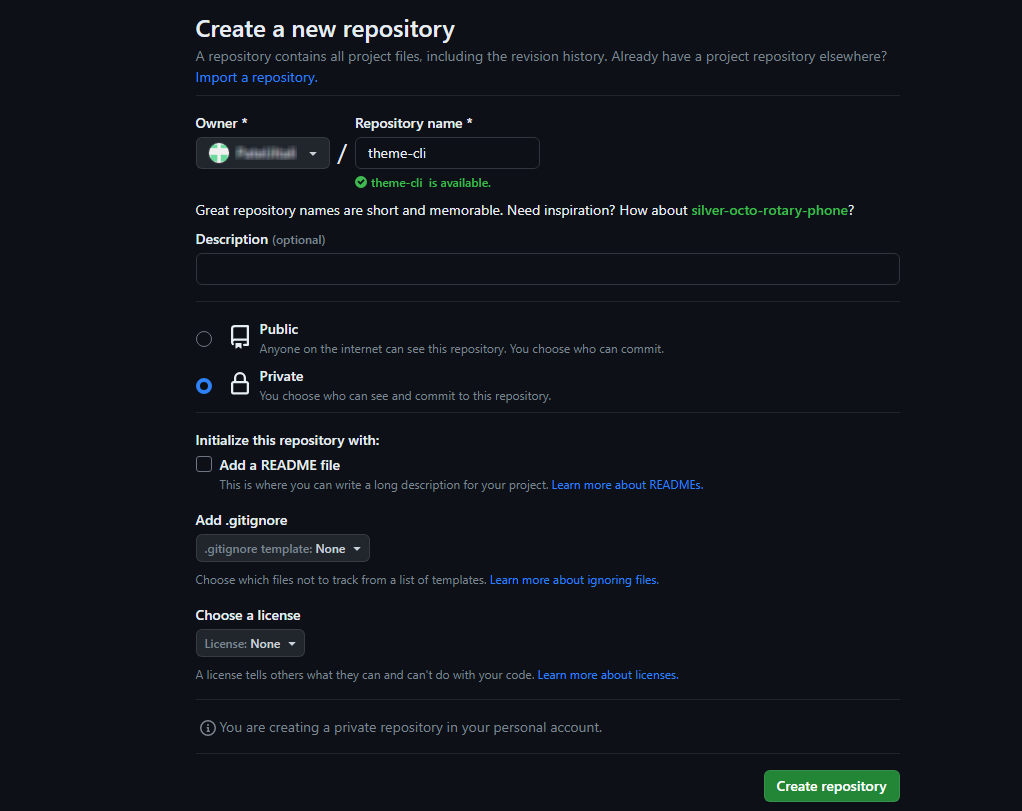
Now we need to create a new repository on GitHub.
GitHub integration for Shopify:
Return to the Terminal and run the following commands:
|
git remote add origin https://github.com/(your-profile-name)/demo-store.git git branch -M main git push -u origin main |
Finally, we will use the following command to push the code to our repository:
| git push origin main |
We are done with Github and can connect our theme to our repository from the Shopify admin.
Go to Online Store -> Themes after logging in as the administrator, locate the Theme Library section, and select Add Theme -> Connect From Github.

Another dropdown will open on the right, and you will enter your information:
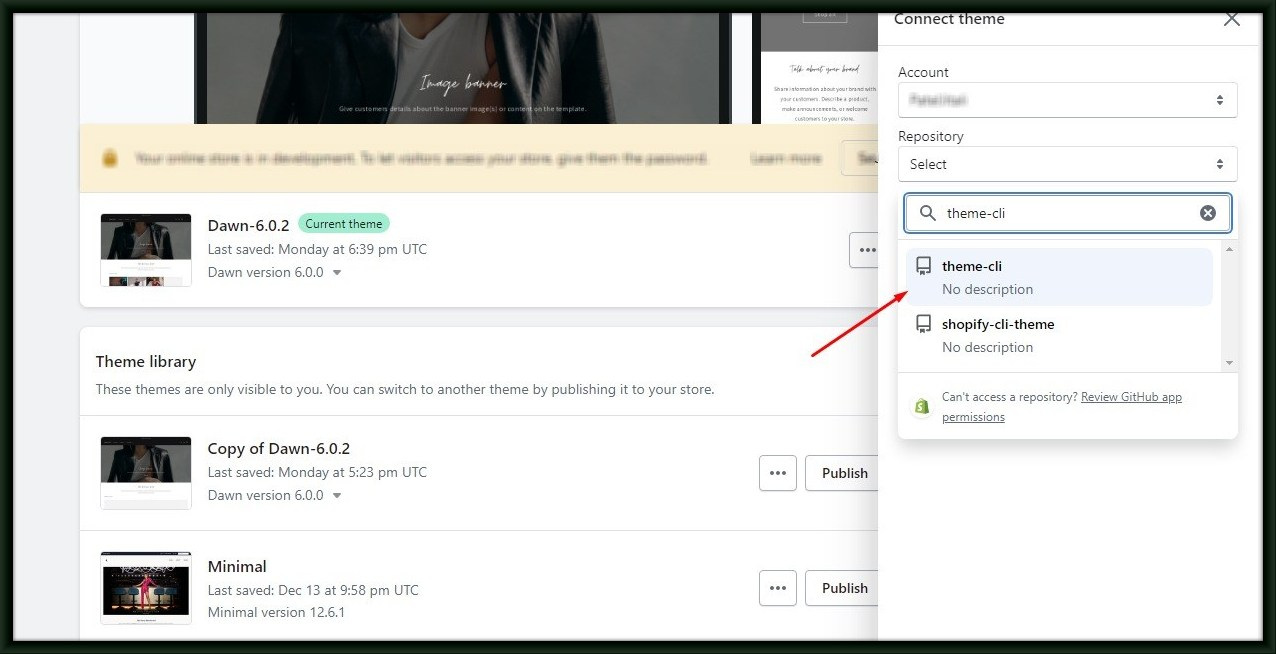
We need to select a branch, and the name of our branch is “main” (we defined it in this section: git branch -M primary”) Our development setup will be complete once it connects. This theme can now be published.
When we make a local change and push it to our “main” branch, the changes will automatically go live.