

6. React Fragments
What: Eliminates unnecessary DOM nodes created by wrapping elements in <div>, streamlining the virtual DOM.
A React Fragment is a built-in component in React that allows you to group multiple elements together without introducing an additional DOM element. Fragments are useful when you need to return multiple elements from a component’s render method but don’t want to add unnecessary wrapper elements to the DOM.
Example:
|
import React from ‘react’;
const MyComponent = () => { return ( <React.Fragment> <h1>Hello</h1> <p>This is a paragraph.</p> </React.Fragment> ); }; export default MyComponent; |
In this example:
<React.Fragment> wraps the <h1> and <p> elements, allowing them to be returned together from the MyComponent without adding any extra DOM elements to the rendered output. Alternatively, you can use the shorthand syntax <></> instead of <React.Fragment>.
Benefits of SSR and SSG :
1. Reduced DOM Overhead: Fragments allow you to group multiple elements without introducing additional wrapper elements in the DOM. This results in cleaner, more concise JSX code and reduces the overall size and complexity of the rendered DOM structure. By avoiding unnecessary nesting, Fragments help improve performance and reduce memory consumption.
2. Improved Code Readability: By using Fragments, you can logically group related elements together without cluttering your code with unnecessary wrapper divs or other elements. This leads to cleaner and more readable JSX code, making it easier for developers to understand the component’s structure and intent.
3. Avoiding Style and Layout Issues: Fragments help prevent unintended side effects related to CSS styles and layout caused by wrapper elements. Since Fragments don’t create additional DOM nodes, they don’t affect the CSS layout or styling of the enclosed elements. This makes it easier to maintain consistent styling and layout across components, reducing the risk of unintended visual glitches or conflicts.
7. Profiling and Performance Monitoring
What: Identify performance bottlenecks using tools like React DevTools, Lighthouse, or WebPageTest to guide optimization efforts.
profiling helps developers understand how a program behaves during execution, while performance monitoring provides ongoing visibility into an application’s performance metrics to ensure it meets the desired performance criteria and user expectations. Both techniques are essential for optimizing software performance and delivering a high-quality user experience.
Example:
|
import React, { Profiler } from ‘react’; function App() { const [count, setCount] = React.useState(0); const handleIncrement = () => { setCount(count + 1); }; return ( <div> <Profiler id=”app” onRender={(id, phase, actualDuration) => { console.log(`${id} ${phase} ${actualDuration}ms`); }} > <p>Count: {count}</p> <button onClick={handleIncrement}>Increment</button> <ExpensiveComponent /> </Profiler> </div> ); } function ExpensiveComponent() { // Simulate some expensive computation for (let i = 0; i < 1000000; i++) { // Do something computationally intensive } return <div>This component is expensive to render.</div>; } export default App; |
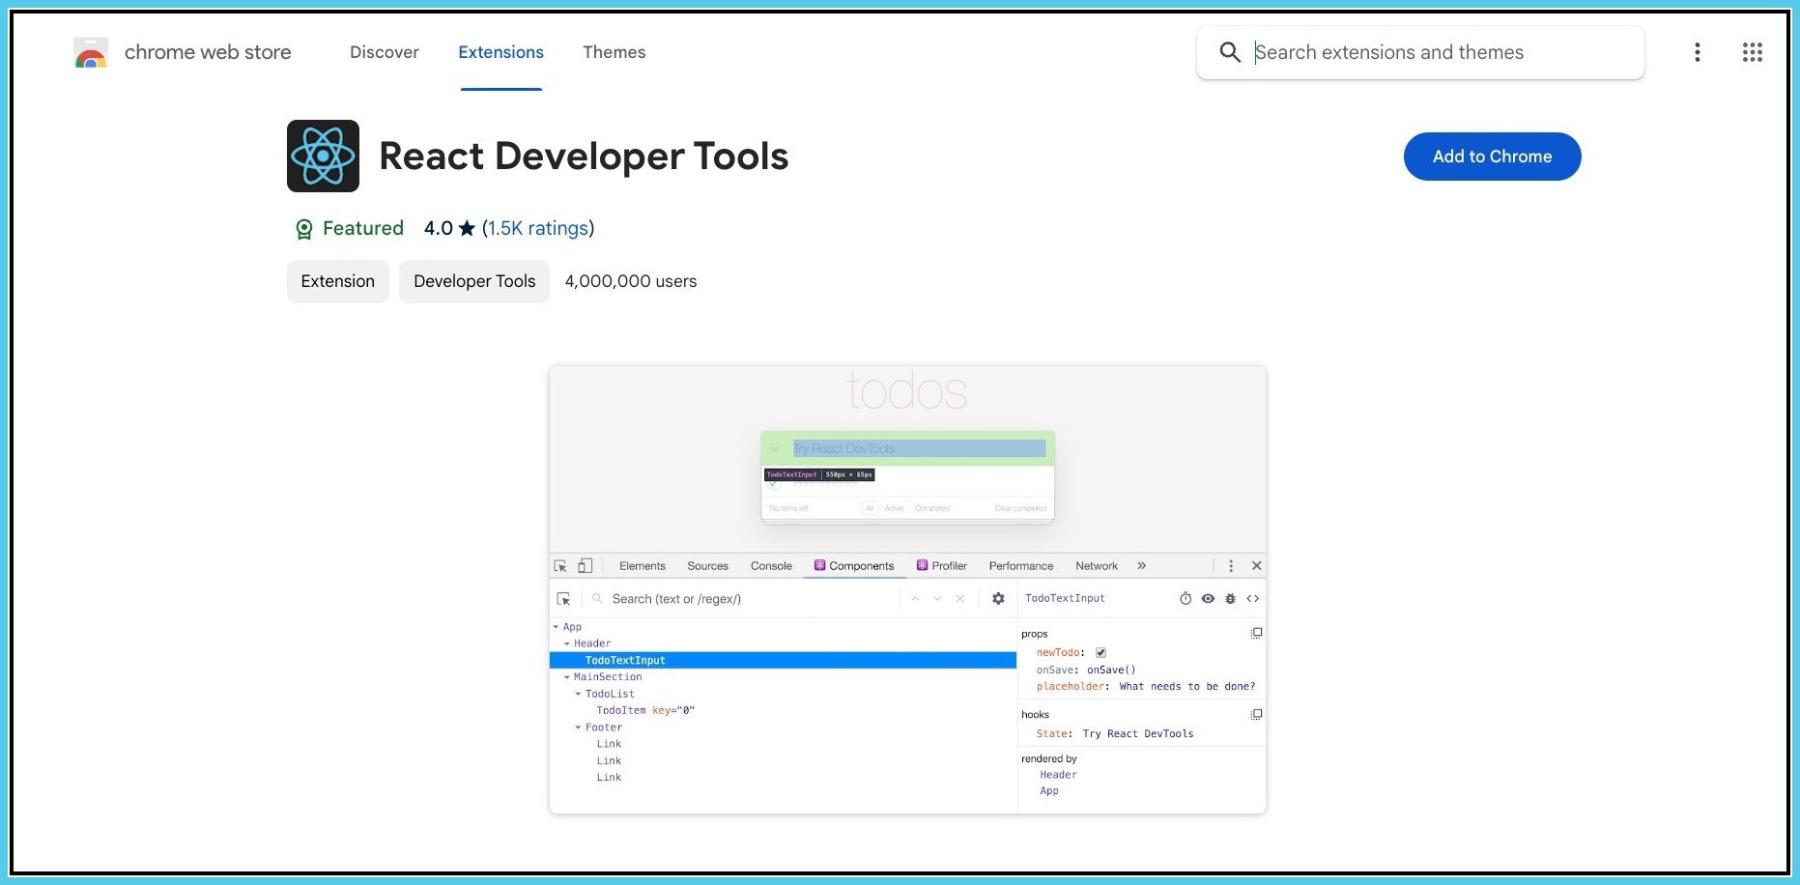
For Performance Monitoring: Use React Developer Tools to inspect React components, edit props and state, and identify performance problems.
You need to download React Developer Tools extension from the google web store.
8. Efficient State Management
What: Choose the right state management solution (Redux, Flux, React Context) based on app complexity, avoiding unnecessary re-renders.
Efficient state management in React refers to the effective organization, updating, and utilization of application state to ensure optimal performance and maintainability. It involves implementing patterns, libraries, or frameworks that enable developers to manage and update state in a scalable, predictable, and efficient manner.
In React, efficient state management typically involves:
Centralized State Management: Centralizing state management using techniques like React’s built-in useState, useReducer, or external state management libraries such as Redux or MobX. Centralization allows for better control and organization of state, reducing complexity and minimizing unnecessary re-renders.
Selective State Updates: Updating only the necessary components when state changes occur. This can be achieved through the use of React’s shouldComponentUpdate lifecycle method, React’s PureComponent or memo for functional components, or using libraries like React-Redux’s connect function with mapStateToProps to optimize rendering.
Immutable State Updates: Ensuring immutability when updating state to prevent unintended side effects and improve performance. This involves creating new copies of state objects or using immutable data structures like Immutable.js or Immer to produce new state objects instead of mutating existing ones.
Asynchronous State Updates: Handling asynchronous state updates efficiently, especially when dealing with network requests or side effects. Techniques such as React’s useEffect hook or libraries like Redux-Saga or Redux-Thunk can be used to manage asynchronous actions and update state in a predictable and performant way.
Optimized Component Rendering: Optimizing component rendering to minimize unnecessary re-renders and improve overall application performance. This includes using memoization techniques, lazy loading components, and leveraging React’s virtual DOM reconciliation process to efficiently update the UI.
Example: We have used Context API for the state management. (You can used based on your requirements.)
|
import React, { createContext, useContext, useState } from ‘react’; // Step 1: Create a context const CounterContext = createContext(); // Step 2: Create a provider component const CounterProvider = ({ children }) => { const [count, setCount] = useState(0); const increment = () => setCount(count + 1); const decrement = () => setCount(count – 1); return ( <CounterContext.Provider value={{ count, increment, decrement }}> {children} </CounterContext.Provider> ); }; // Step 3: Create a custom hook to consume the context const useCounter = () => { const context = useContext(CounterContext); if (!context) { throw new Error(‘useCounter must be used within a CounterProvider’); } return context; }; // Step 4: Use the provider and custom hook in your components const CounterDisplay = () => { const { count } = useCounter(); return <div>Count: {count}</div>; }; const CounterButtons = () => { const { increment, decrement } = useCounter(); return ( <div> <button onClick={increment}>Increment</button> <button onClick={decrement}>Decrement</button> </div> ); }; const App = () => { return ( <CounterProvider> <div> <h1>Counter Example with Context API</h1> <CounterDisplay /> <CounterButtons /> </div> </CounterProvider> ); }; export default App; |
9. Minimize Bundle Size
What: Reduce the weight of your JavaScript bundles using tree-shaking, compression, and code minification.
Minimizing Bundle Size is all about optimizing the size of your JavaScript bundles to ensure faster loading times for your React applications. By employing techniques like tree-shaking, compression, and code minification, you can deliver a more streamlined and efficient experience to your users.
Bundle Size Optimization Techniques:
Let’s break down a few key techniques for minimizing bundle size in your React applications
1. Code-Splitting: Implementing code-splitting allows you to load only the necessary parts of your application when needed. This can be achieved using dynamic imports or tools like Webpack’s splitChunks configuration.
2. Tree-Shaking: Tree-shaking is a technique that eliminates dead code from your bundles. Webpack automatically removes unused code during the bundling process, ensuring that only the essential code reaches your users.
3. Minification: Minification involves removing unnecessary characters (whitespace, comments) and shortening variable names to reduce the size of your JavaScript files. Tools like Terser can be integrated into your build process to handle this optimization.
4. Compression: Enabling gzip compression is another powerful technique. It reduces the size of your JavaScript files during transmission, significantly improving load times for your users.
Benefits of Minimizing Bundle Size: Optimizing your bundle size brings several advantages.
1. Faster Load Times: Smaller bundles load faster, ensuring a quicker initial load time for your React application.
2. Improved User Experience: Users experience a more responsive and efficient application, especially on slower network connections.
3. Better SEO: Search engines favor faster-loading websites, potentially improving your site’s search engine rankings.
10. Image Optimization:
Image optimization in a web application involves reducing the file size of images while maintaining acceptable visual quality. Here’s an example of how you can optimize images in a React application using tools like react-responsive-image and imagemin-webpack-plugin:
Install Dependencies: npm install react-responsive-image imagemin-webpack-plugin
Configure Webpack (for bundling images):
Update your Webpack configuration to include imagemin-webpack-plugin:
|
const ImageminPlugin = require(‘imagemin-webpack-plugin’).default; module.exports = { // other webpack configuration… plugins: [ new ImageminPlugin({ test: /.(jpe?g|png|gif|svg)$/i, disable: process.env.NODE_ENV !== ‘production’, }), ], }; |
Use react-responsive-image Component:
|
import React from ‘react’; import { ResponsiveImage } from ‘react-responsive-image’; const MyImageComponent = () => { return ( <div> <h1>Image Optimization Example</h1> <ResponsiveImage srcSet={[ { src: ‘path/to/image.jpg’, width: 600, }, { src: ‘path/to/image@2x.jpg’, width: 1200, }, ]} alt=”Example Image” /> </div> ); }; export default MyImageComponent; |
Build and Optimize:
Build your React application. During the build process, Webpack will optimize images using imagemin-webpack-plugin.
npm run build
In this example:
1. We use react-responsive-image to render responsive images, allowing the browser to choose the appropriate image based on device characteristics such as screen size and pixel density.
2. We configure imagemin-webpack-plugin in Webpack to optimize images during the build process. It compresses and reduces the file size of images to improve load times.
3. By optimizing images, we ensure faster load times and better performance for our React application, especially for users with limited bandwidth or slower internet connections.