To add a slider to a multicolumn section in the Dawn theme in Shopify, you must modify the theme’s Liquid. Here’s a step-by-step guide to help you add a slider to the multicolumn section.
Modify the multicolumn.liquid file
Access Theme Editor:
Go to Online Store > Themes in your Shopify admin.
Find your active theme (Dawn) and click Actions > Edit code.
Find the Multicolumn Section:
In the Sections folder, look for a file named multicolumn.liquid
Add setting schema:
Add this schema after swiping on the mobile checkbox schema.
|
{ “type”: “checkbox”, “id”: “swipe_on_desktop”, “default”: false, “label”: “Swipe on desktop” } |
Add this condition to the <ul> class
| {% if section.settings.swipe_on_mobile or section.settings.swipe_on_desktop %} slider {% endif %}{% if section.settings.swipe_on_mobile and section.blocks.size > 1 %} slider–mobile grid–peek{% endif %}{% if section.settings.swipe_on_desktop and section.blocks.size > 3 %} slider–everywhere{% endif %} |

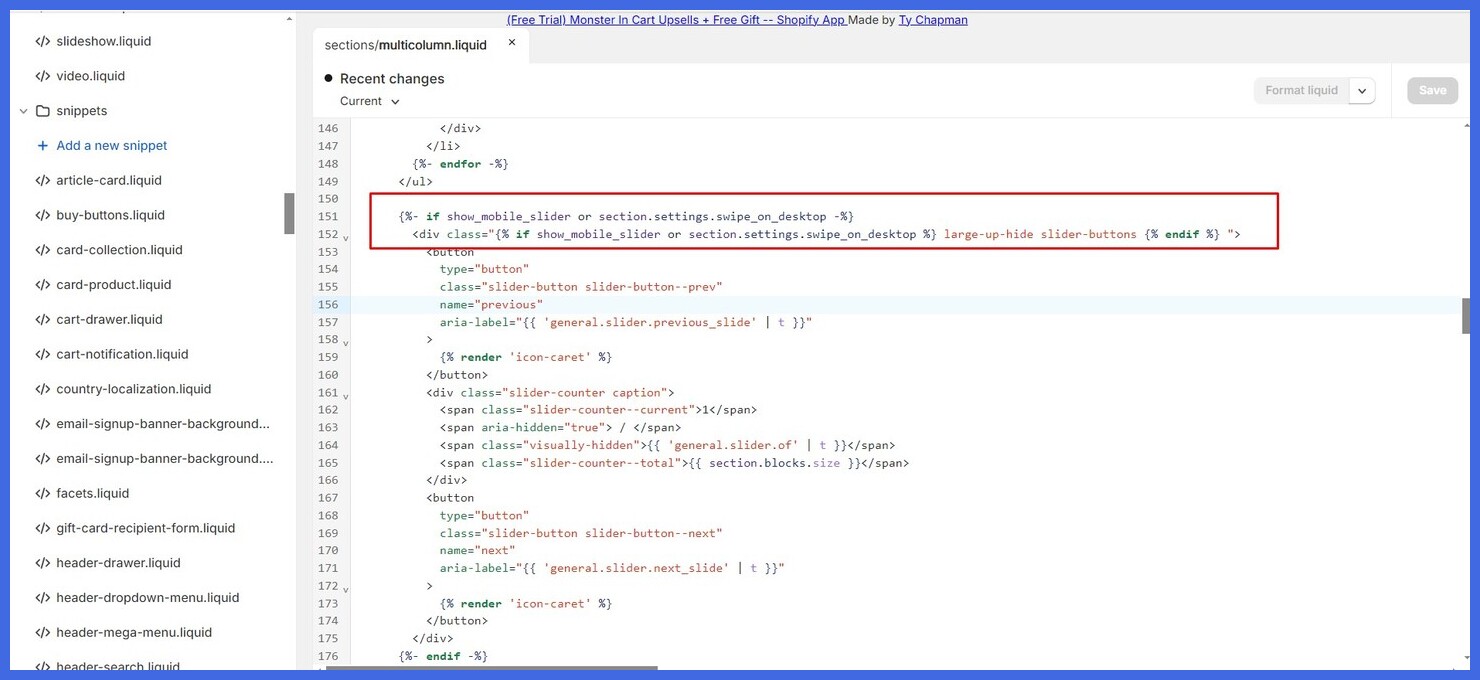
You can now put this condition behind ‘show mobile slider’ and put all the conditions in the following <div> class as shown in the image.
| {%- if show_mobile_slider or section.settings.swipe_on_desktop -%} |

Then create a new CSS file “section-multicolumn-slider-custom.css” in the Assets folder and paste the below code into this file.
| .multicolumn .large-up-hide{ display: flex !important;} .grid–2-col-tablet.slider–everywhere .multicolumn-list__item { margin-top: 0; } .multicolumn .slider–everywhere+.slider-buttons { display: flex; } |
Then Search the theme.liquid file and paste the below CSS file after the {{ ‘section-multicolumn.css’ | asset_url | stylesheet_tag }}
| {{ ‘section-multicolumn-slider-custom.css’ | asset_url | stylesheet_tag }} |
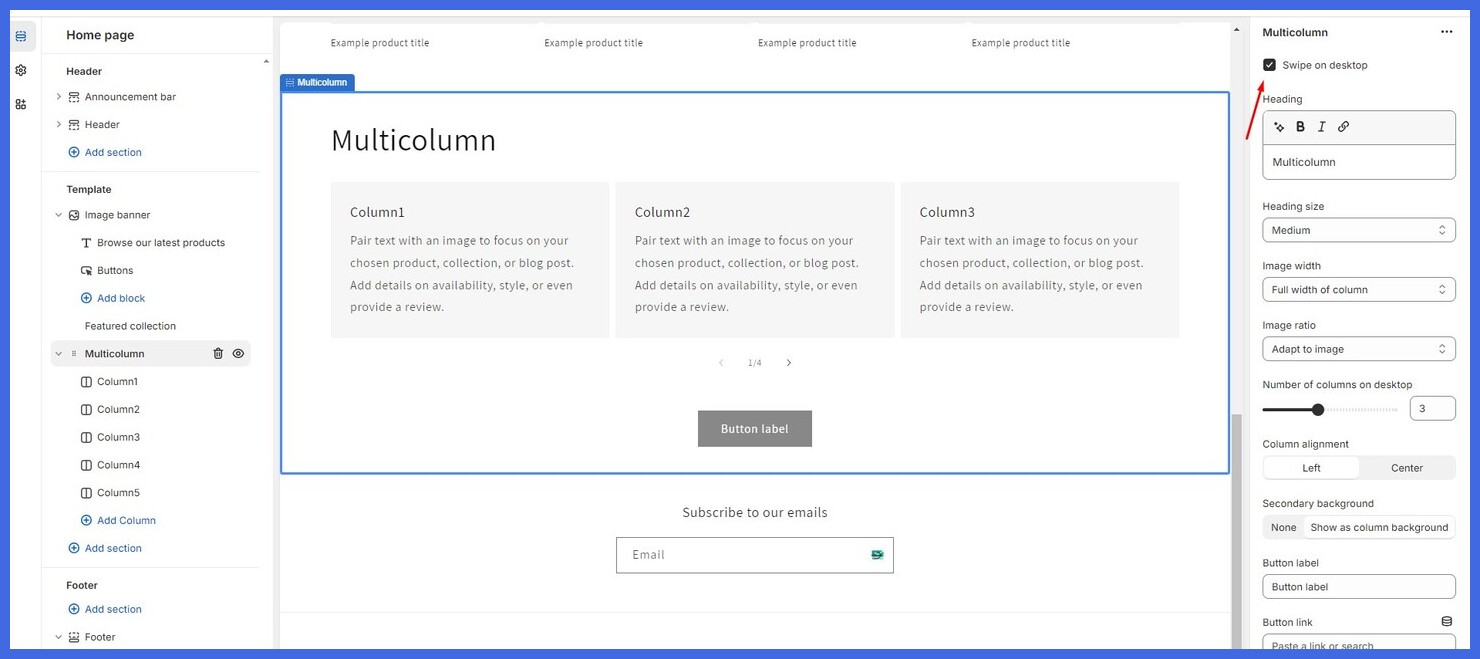
You can select the checkbox option in the customization settings.

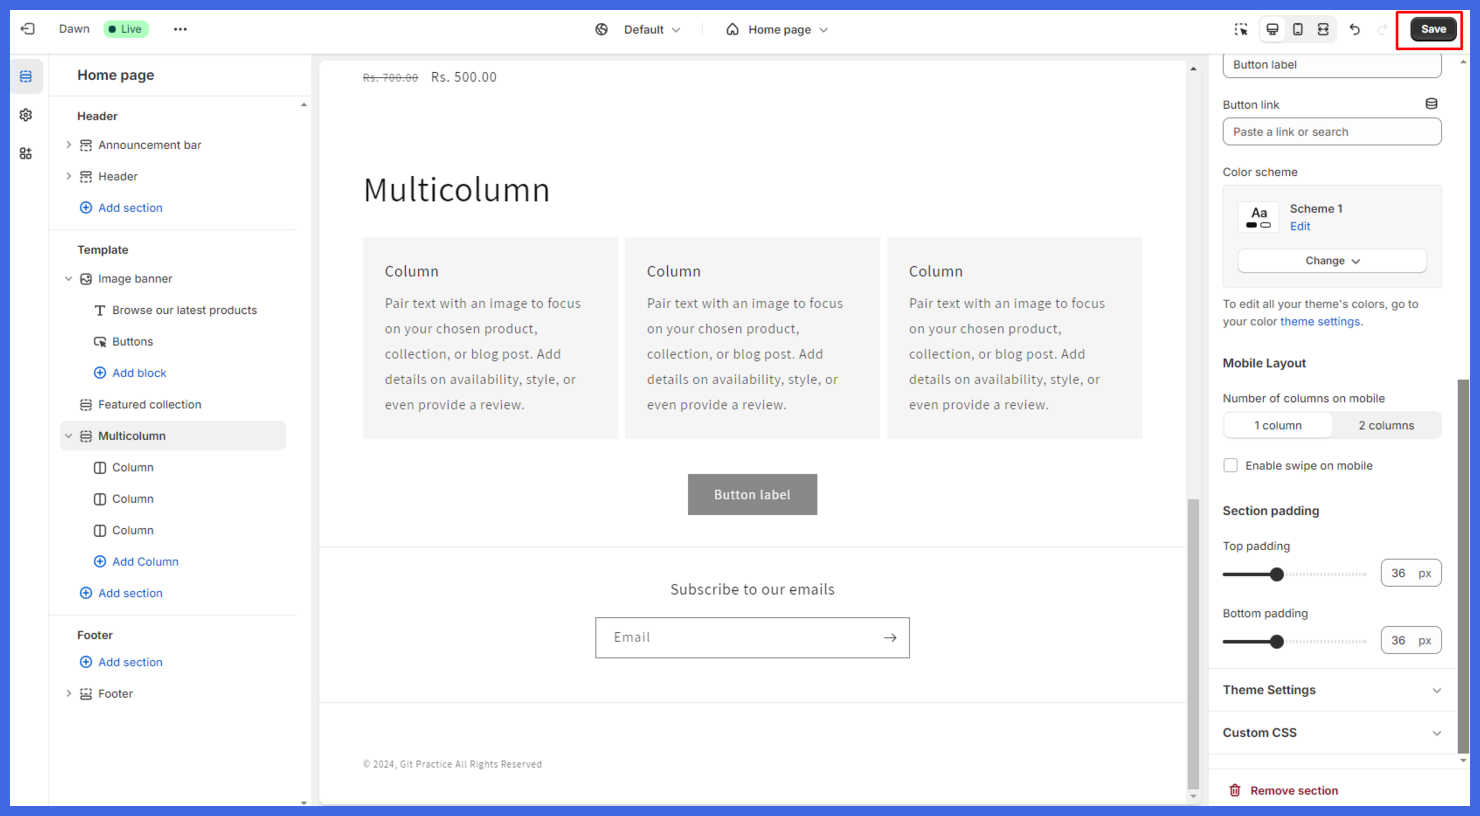
Click on “Save” and then check the preview.


