Welcome to CodeCrew Infotech


Build Dynamic Blogs with Laravel Livewire 3
Streamline your blog development with Livewire! This powerful framework enables real-time updates and interactive features, all without full page reloads. Learn how to leverage Livewire 3 to create a modern and engaging blog experience for your users.
1. Create a Project:-
Now, open terminal run this command:
composer create-project laravel/laravel laravel-livewire-app
After Setup Project:
cd laravel-livewire-app
2. Database Configure:-
In the second step, configuring database credentials for the Laravel Livewire CRUD app is essential. Simply update the .env file located in the root directory of the application.
DB_CONNECTION=mysql
DB_HOST=127.0.0.1
DB_PORT=3306
DB_DATABASE=your_db_name
DB_USERNAME=your_db_username
DB_PASSWORD=your_db_password
3.Create Blog Model with Migration:-
Now, open terminal
php artisan make:model Blog -m
In the provided command, the -m flag is used to generate a migration for the product model.
Just open the migration file and paste the following code into it.
<?php

use Illuminate\Database\Migrations\Migration;
use Illuminate\Database\Schema\Blueprint;
use Illuminate\Support\Facades\Schema;

return new class extends Migration {
    /**
     * Run the migrations.
     */
    public function up(): void
    {
        Schema::create("blogs", function (Blueprint $table) {
            $table->id();
            $table->string("title");
            $table->text("description");
            $table->timestamps();
        });
    }

    /**
     * Reverse the migrations.
     */
    public function down(): void
    {
        Schema::dropIfExists("blogs");
    }
};
Next, navigate to the app\Models\Blog.php file and update the code as follows.
<?php

namespace App\Models;

use Illuminate\Database\Eloquent\Factories\HasFactory;
use Illuminate\Database\Eloquent\Model;

class Blog extends Model
{
    use HasFactory;
    protected $fillable = ["title", "description"];
}
4. Migrate the tables to the database:-
After creating and updating the blog migration, proceed to migrate the tables into the database by running the following command.
php artisan migrate
5. Install Livewire Package:-
In this step, we'll install Livewire in our Laravel application by executing the following command.
composer require livewire/livewire
6. Create a template layout:-
After installing Livewire, you'll need to create a Livewire layout. Simply run the command below in your terminal, and it will generate the Livewire layout in \resources\views\components\layouts\app.blade.php
php artisan livewire:layout
Now, open the layout file app.blade.php and update the code as follows.
<!DOCTYPE html>
<html lang="{{ str_replace('_', '-', app()->getLocale()) }}">

<head>
    <meta charset="utf-8">
    <meta name="viewport" content="width=device-width, initial-scale=1.0">

    <title>{{ $title ?? 'Blogs' }}</title>
    <link href="https://cdn.jsdelivr.net/npm/bootstrap@5.3.1/dist/css/bootstrap.min.css" rel="stylesheet"
        integrity="sha384-4bw+/aepP/YC94hEpVNVgiZdgIC5+VKNBQNGCHeKRQN+PtmoHDEXuppvnDJzQIu9" crossorigin="anonymous">
    <link rel="stylesheet" href="https://cdn.jsdelivr.net/npm/bootstrap-icons@1.10.5/font/bootstrap-icons.css">
</head>

<body>
    <div class="container">
        <div class="row">
            {{ $slot }}
        </div>
    </div>
    <script src="https://cdn.jsdelivr.net/npm/bootstrap@5.3.1/dist/js/bootstrap.bundle.min.js"
        integrity="sha384-HwwvtgBNo3bZJJLYd8oVXjrBZt8cqVSpeBNS5n7C8IVInixGAoxmnlMuBnhbgrkm" crossorigin="anonymous">
    </script>
</body>

</html>
7. Create a Livewire Blog component class and Blade view files:-
Now, we'll create a Livewire blog component class and Blade view files. Simply execute the command below in the terminal.
Listing Blog :-
php artisan make:livewire Blogs\\ListBlogs
The command above will generate two files: a Livewire component class and Livewire Blade view files. These files will be located at the following locations:
app/Livewire/Blogs/ListBlogs.php

resources/views/livewire/blogs/list-blogs.blade.php
Create Blog :-
php artisan make:livewire Blogs\\CreateBlog
The command above will generate two files: a Livewire component class and Livewire Blade view files. These files will be located at the following locations:
app/Livewire/Blogs/CreateBlog.php

resources/views/livewire/blogs/create-blogs.blade.php
Show Blog :-
php artisan make:livewire Blogs\\CreateBlog
The command above will generate two files: a Livewire component class and Livewire Blade view files. These files will be located at the following locations:
app/Livewire/Blogs/ShowBlog.php

resources/views/livewire/blogs/show-blogs.blade.php
Edit Blog :-
php artisan make:livewire Blogs\\EditBlog
The command above will generate two files: a Livewire component class and Livewire Blade view files. These files will be located at the following locations:
app/Livewire/Blogs/ShowBlog.php

resources/views/livewire/blogs/edit-blogs.blade.php
Now, open the Livewire product component file located at app/Livewire/Blogs/ListBlogs.php and paste the following code into it.
<?php

namespace App\Livewire\Blogs;

use App\Models\Blog;
use Livewire\Attributes\Title;
use Livewire\Component;

class ListBlogs extends Component
{
    public $blogs, $title, $description, $blog_id;
    #[Title("List BLog")]
    public function render()
    {
        $this->blogs = Blog::all();
        return view("livewire.blogs.list-blogs");
    }

    public function deleteblog(Blog $blog)
    {
        $blog->delete();
        session()->flash("success", "Blog Deleted Successfully");
        return $this->redirect("/", navigate: true);
    }
}
Now, open the Livewire product component file located at app/Livewire/Blogs/CreateBlog.php and paste the following code into it.
<?php

namespace App\Livewire\Blogs;

use App\Models\Blog;
use Livewire\Attributes\Title;
use Livewire\Attributes\Validate;
use Livewire\Component;

class CreateBlog extends Component
{
    #[Title("Create BLog")]
    public function render()
    {
        return view("livewire.blogs.create-blog")->title("Create Post");
    }

    #[Validate("required", message: "Please provide a post title")]
    #[Validate("min:3", message: "This title is too short")]
    public $title;

    #[Validate("required", message: "Please provide a post description")]
    #[Validate("min:3", message: "This description is too short")]
    public $description = "";

    public function save()
    {
        // dd("Called");
        $this->validate();
        $data = [
            "title" => $this->title,
            "description" => $this->description,
        ];
        if (Blog::create($data)) {
            session()->flash("success", "Blog Created Successfully!");
            return $this->redirect("/", navigate: true);
        }
    }
}
Now, open the Livewire product component file located at app/Livewire/Blogs/ShowBlog.php and paste the following code into it.
<?php

namespace App\Livewire\Blogs;

use App\Models\Blog;
use Livewire\Attributes\Title;
use Livewire\Component;

class ShowBlog extends Component
{
    #[Title("Show BLog")]
    public $blog = [];

    public function mount(Blog $blog)
    {
        $this->blog = $blog;
    }
    public function render()
    {
        return view("livewire.blogs.show-blog");
    }
}
Now, open the Livewire product component file located at app/Livewire/Blogs/EditBlog.php and paste the following code into it.
<?php

namespace App\Livewire\Blogs;

use App\Models\Blog;
use Livewire\Attributes\Title;
use Livewire\Attributes\Validate;
use Livewire\Component;

class EditBlog extends Component
{
    #[Title("Edit BLog")]
    public $blog;
    #[Validate("required", message: "Please provide a post title")]
    #[Validate("min:3", message: "This title is too short")]
    public $title;
    #[Validate("required", message: "Please provide a post description")]
    #[Validate("min:3", message: "This description is too short")]
    public $description;

    public function mount(Blog $blog)
    {
        $this->blog = $blog;
        $this->title = $blog->title;
        $this->description = $blog->description;
    }

    public function render()
    {
        return view("livewire.blogs.edit-blog");
    }

    public function update()
    {
        $this->validate();
        $data = [
            "title" => $this->title,
            "description" => $this->description,
        ];
        if ($this->blog->update($data)) {
            session()->flash("success", "Blog Updated Successfully!");
            return $this->redirect("/", navigate: true);
        }
    }
}
Now, open the products Blade view file located at resources/views/livewire/blogs/list-blogs.blade.php and update the following code within it.
<main class="mt-2">
    <h4>Listing Blogs</h4>
    <div>
        @include('livewire.button-add')
        @include('livewire.flash-message')
        <table class="table table-bordered mt-5">
            <thead>
                <tr>
                    <th>No.</th>
                    <th>Title</th>
                    <th>Description</th>
                    <th width="150px">Action</th>
                </tr>
            </thead>
            <tbody>
                @foreach ($blogs as $blog)
                    <tr>
                        <td>{{ $blog->id }}</td>
                        <td>{{ $blog->title }}</td>
                        <td>{{ $blog->description }}</td>
                        <td width="15%">
                            <button wire:navigate href="/blog/{{ $blog->id }}" class="btn btn-sm btn-success"
                                title="View">View</button>
                            <button wire:navigate href="/blog/{{ $blog->id }}/edit" class="btn btn-sm btn-primary"
                                title="Edit">Edit</button>
                            <button wire:click="deleteblog({{ $blog->id }})" class="btn btn-sm btn-danger"
                                title="Delete">Delete</button>
                        </td>
                    </tr>
                @endforeach
            </tbody>
        </table>
    </div>
</main>
Now, open the products Blade view file located at resources/views/livewire/button-add.php and update the following code within it.
<div>
    <a href="{{ route('create.blog') }}" class="btn btn-sm btn-success" wire:navigate>Add Blog</a>
</div>
Now, open the products Blade view file located at resources/views/livewire/flash-message.blade.php and update the following code within it.
@if (session()->has('success'))
    <div class="alert alert-success">
        {{ session('success') }}
    </div>
@endif
Now, open the products Blade view file located at resources/views/livewire/blogs/create-blog.blade.php and update the following code within it.
<div class="card offset-3 col-6 mt-2">
    <div class="card-header">
        Create Blog
    </div>
    <div class="card-body">
        <form wire:submit="save">
            <div class="mb-3">
                <label for="exampleFormControlInput1">Title:</label>
                <input type="text" class="form-control" id="exampleFormControlInput1" placeholder="Enter Title"
                    wire:model="title">
                @error('title')
                    <span class="text-danger">{{ $message }}</span>
                @enderror
            </div>
            <div class="mb-3">
                <label for="exampleFormControlInput2">Description:</label>
                <textarea class="form-control" id="exampleFormControlInput2" wire:model="description" placeholder="Enter description"></textarea>
                @error('description')
                    <span class="text-danger">{{ $message }}</span>
                @enderror
            </div>
            <button type="submit" class="btn btn-success">Save</button>
            <button wire:navigate href="/" type="button" class="btn btn-primary">Cancle</button>
        </form>
    </div>
</div>
Now, open the products Blade view file located at resources/views/livewire/blogs/show-blog.blade.php and update the following code within it.
<div class="card offset-1 col-6 mt-2">
    <div class="card-header">
        View Blog
    </div>
    <div class="card-body">
        <h5 class="card-title">{{ $blog->title }}</h5>
        <p class="card-text">{{ $blog->description }}</p>
        <button wire:navigate href="/" class="btn btn-primary">Go Back</button>
    </div>
</div>
Now, open the products Blade view file located at resources/views/livewire/blogs/edit-blog.blade.php and update the following code within it.
<div class="card offset-3 col-6 mt-2">
    <div class="card-header">
        Edit Blog
    </div>
    <div class="card-body">
        <form wire:submit="update">
            <div class="mb-3">
                <label for="exampleFormControlInput1">Title:</label>
                <input type="text" class="form-control" id="exampleFormControlInput1" placeholder="Enter Title"
                    wire:model="title">
                @error('title')
                    <span class="text-danger">{{ $message }}</span>
                @enderror
            </div>
            <div class="mb-3">
                <label for="exampleFormControlInput2">Description:</label>
                <textarea class="form-control" id="exampleFormControlInput2" wire:model="description" placeholder="Enter description"></textarea>
                @error('description')
                    <span class="text-danger">{{ $message }}</span>
                @enderror
            </div>
            <button type="submit" class="btn btn-success">Save</button>
            <button wire:navigate href="/" type="button" class="btn btn-primary">Cancle</button>
        </form>
    </div>
</div>
8. Define Routes:-
Now Let's Add, routes/web.php, you would add it like this:
use Illuminate\Support\Facades\Route;
use App\Livewire\Blogs\CreateBlog;
use App\Livewire\Blogs\EditBlog;
use App\Livewire\Blogs\ListBlogs;
use App\Livewire\Blogs\ShowBlog;

/*
|--------------------------------------------------------------------------
| Web Routes
|--------------------------------------------------------------------------
|
| Here is where you can register web routes for your application. These
| routes are loaded by the RouteServiceProvider and all of them will
| be assigned to the "web" middleware group. Make something great!
|
*/

Route::get("/", ListBlogs::class);
Route::get("/add-blog", CreateBlog::class)->name("create.blog");
Route::get("/blog/{blog}", ShowBlog::class)->name("show.blog");
Route::get("/blog/{blog}/edit", EditBlog::class)->name("edit.blog");
9. Run Laravel Project:-
run the following command:
php artisan serve
Now, open your web browser and enter the provided URL to view the application output.
http://localhost:8000
So, let's follow step and you will get bellow layout:
Listing Blogs View :-

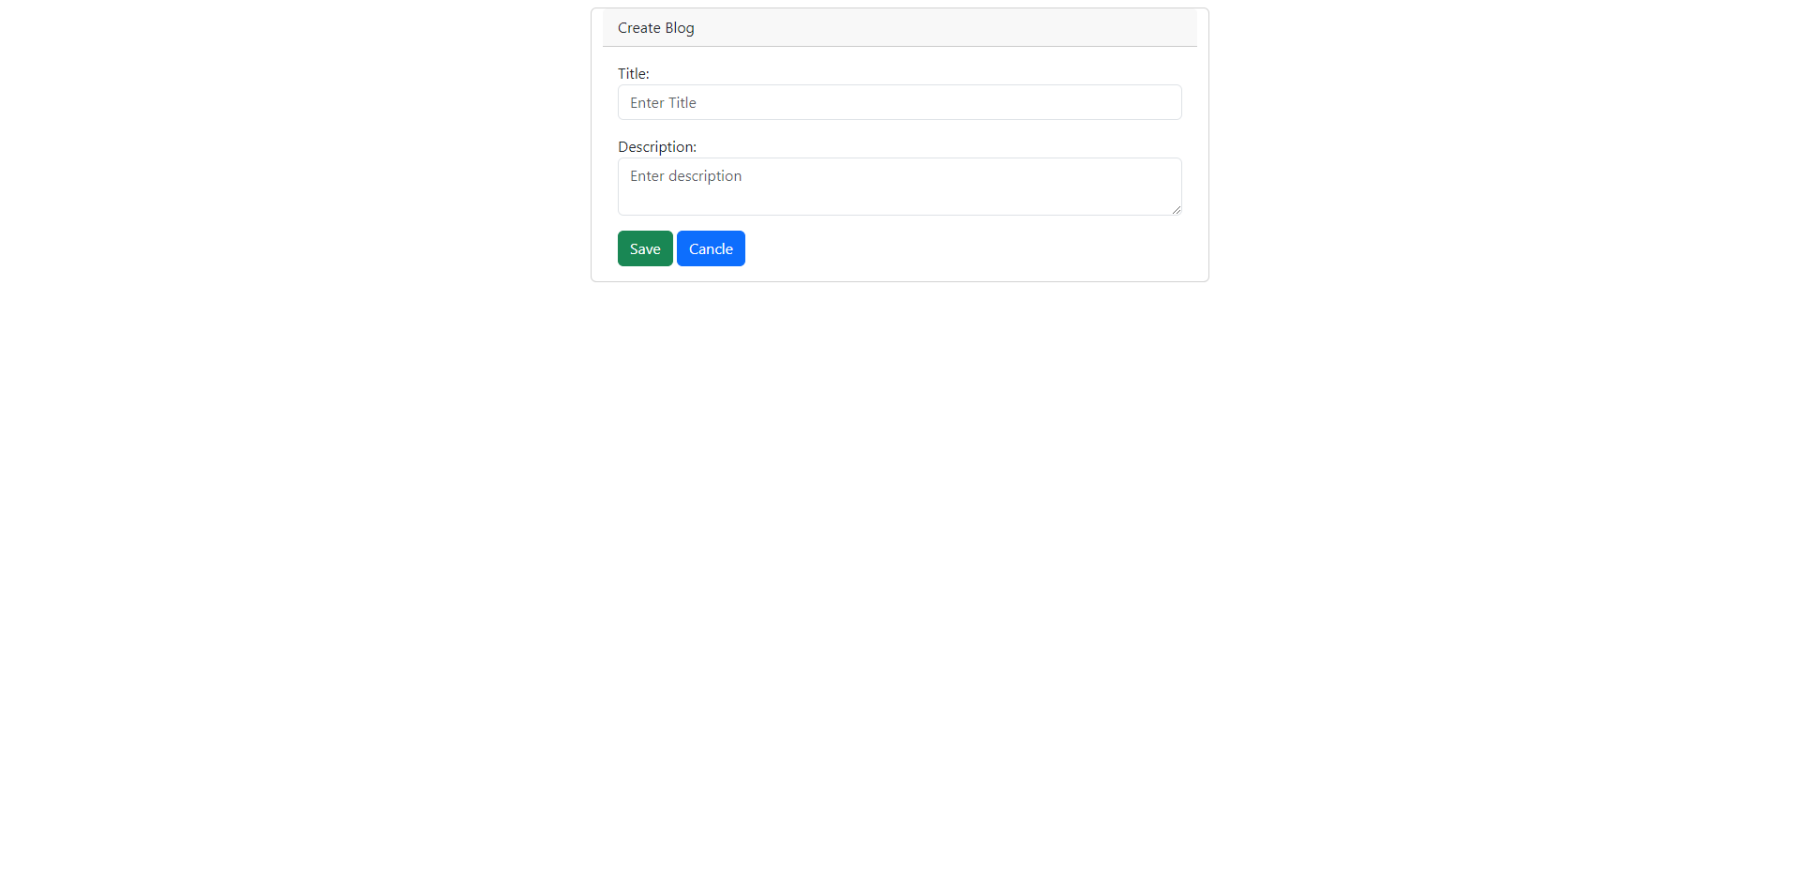
Create Blog View :-
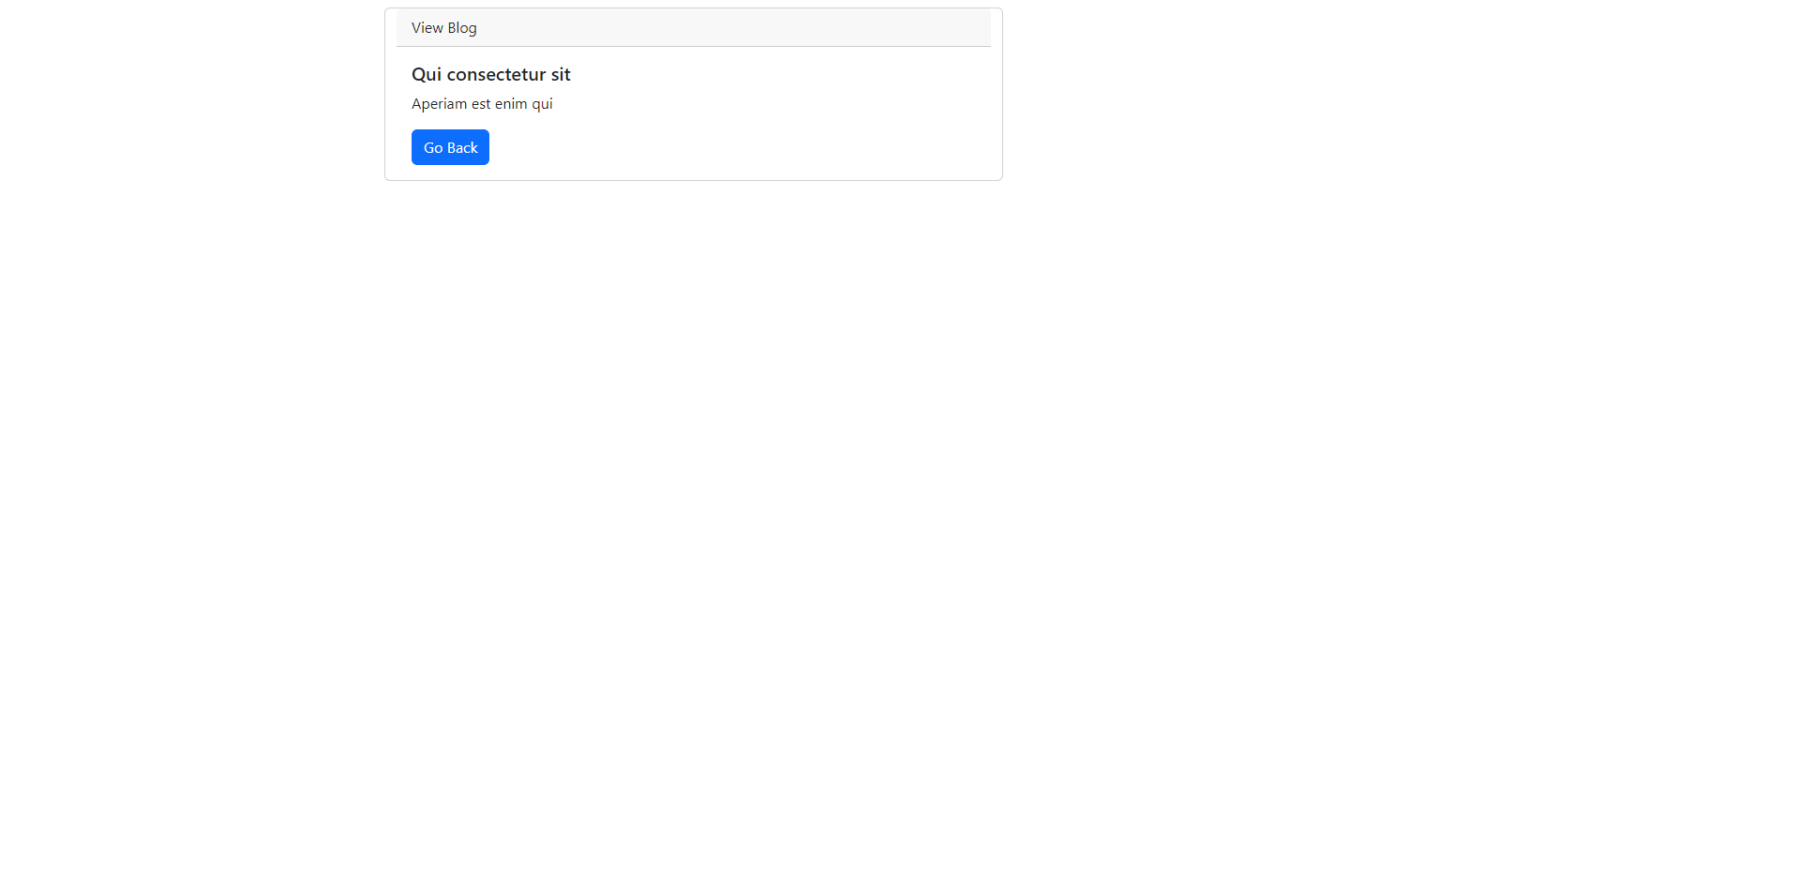
Show Blog View :-
Edit Blog View :-
.png)
Conclusion:-
Building dynamic blogs with Laravel Livewire 3 offers a seamless and efficient development experience. Leveraging its robust features, developers can create engaging and interactive blogging platforms tailored to their specific needs.
Thank you...
You may also like