Welcome to CodeCrew Infotech


How To Add Custom Testimonial In Shopify
Testimonial is the one type of review but slightly different because it's talked about your brand and services and the experience of the product.
Using Testimonials you represent the trust of the brand also most customer sees product reviews and testimonials of the customer.
Testimonial is powerful because most customers trust online reviews and they prove that the brand is most trustable to buy it.
Here we show you how to create the testimonial in the Shopify store let's start from the beginning.
Go to Shopify admin > themes > Actions > Edit code
In the left sidebar create a new section file which names testimonials.liquid file and erase all the default code and paste the below code and save it.
|
<section data-section-id="{{ section.id }}" data-section-type="testimonials" class="testimonial-main page-width"> <h2>{{ section.settings.title }}</h2> {%- if section.blocks.size > 0 -%} {%- for block in section.blocks -%} <div class="testimonial-container"> <img src="{%- if block.settings.avatar == blank -%}https://cdn.shopify.com/s/files/1/0619/0845/1514/files/avatar.png? v=1656409400{%-else-%}{{ block.settings.avatar | img_url: '512x512' }}{%-endif-%}" alt="Avatar" style="width:90px"> {%- if block.settings.author != blank -%}<p><span>{{ block.settings.author }}</span> {{ block.settings.position }}</p>{%- endif -%} {%- if block.settings.quote != blank -%}<p>{{ block.settings.quote }}</p>{%- endif -%} </div> {%- endfor -%} {%- endif -%} </section> <style> .testimonial-main{ display:flex; flex-direction:row; gap:20px; } .testimonial-container{ display:flex; flex-direction: column;
align-items: center; width: 50%; } .testimonial-container p{ text-align:center; } /* extra */
.testimonial-container { border: 2px solid #ccc; background-color: #eee; border-radius: 5px; padding: 16px; margin: 16px 0; } .testimonial-container::after { content: ""; clear: both; display: table; } .testimonial-container img { float: left; margin-right: 20px; border-radius: 50%; } .testimonial-container span { font-size: 20px; margin-right: 15px; }
@media (max-width: 500px) { .testimonial-container { text-align: center; } .testimonial-container img { margin: auto; float: none; display: block; } } </style> {% schema %} { "name": "Testimonials", "class": "index-section", "max_blocks": 25, "settings": [ { "type": "text", "id": "title", "label": "Heading", "default": "Testimonials" } ], "blocks": [ { "type": "quote", "name": "Testimonial", "settings": [ { "type": "richtext", "id": "quote", "label": "Text", "default": "<p>Add customer reviews and testimonials to showcase your store’s happy customers.</p>" }, { "type": "text", "id": "author", "label": "Author", "default": "Author’s name" }, { "type": "text", "id": "position", "label": "Position" }, { "type": "image_picker", "id": "avatar", "label": "Avatar" } ] } ], "presets": [ { "name": "Testimonials", "category": "Text", "blocks": [ { "type": "quote" }, { "type": "quote" }, { "type": "quote" } ] } ] } {% endschema %}
|
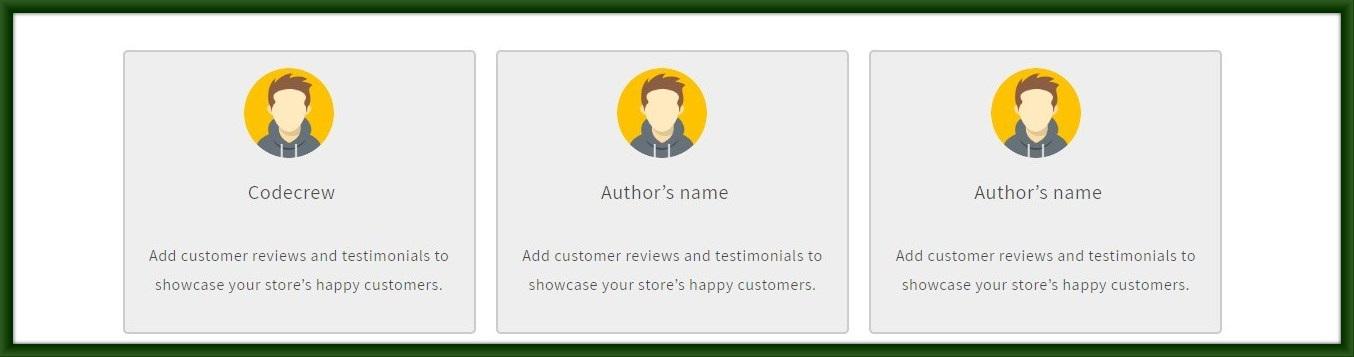
when you add this section into your home page then it looks like this.
You may also like