Welcome to CodeCrew Infotech


How To Add Image Icon With Navbar Menu In WordPress
The menu bar is the part of a browser or application window, generally at the top left side, that houses drop-down menus that allow the user to interact with the content or application in different ways.
Image icons can also be used to make your menu more noticeable.
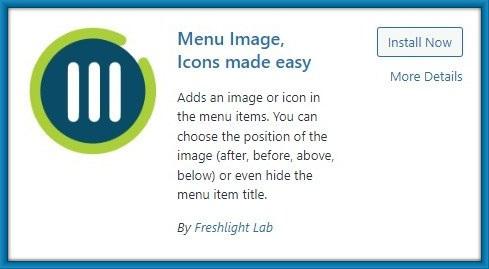
Step 1: First of all install and activate the Menu Image plugin.
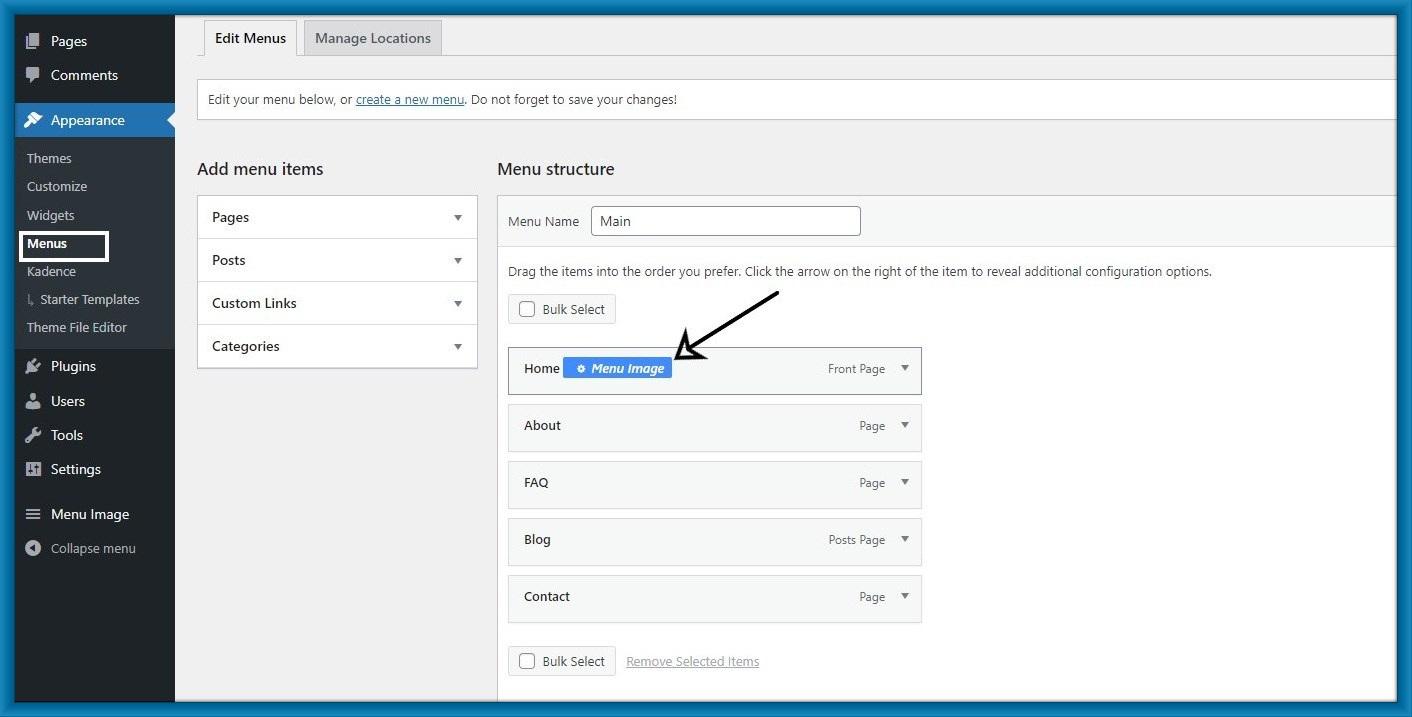
Step 2: Then click Appearance > Menus from the WordPress dashboard.
After that hover over the navigation menu, and then you can see a Menu image pop-up. Click on that.
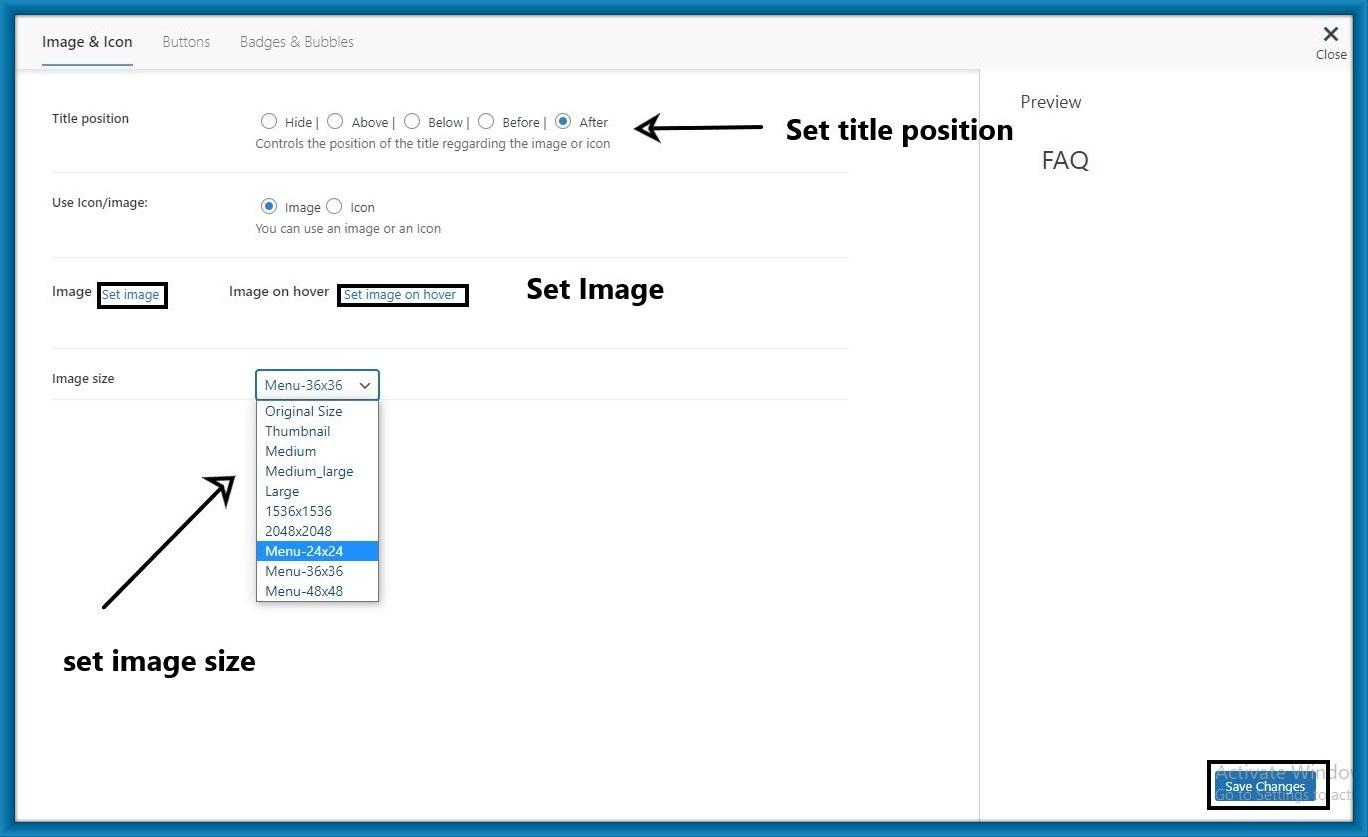
Step 3: After clicking the menu image open will the setting page.
Here you can set Title position, Image, and image size and then click on save changes.
You can also set the icon of the navigation menu.
Step 4: Go to your WordPress site and check your changes.

If you want to add your customer image size then Add this below code in function.php.
|
add_filter( 'menu_image_default_sizes', function($sizes){ // remove the default 36x36 size unset($sizes['menu-36x36']); // add a new size $sizes['menu-50x50'] = array(50,50); // return $sizes (required) return $sizes; }); |
You may also like