Welcome to CodeCrew Infotech


How To Add Notepad In WordPress Dashboard
You need somewhere to share information, list your goals, plan out content, and collect ideas.
More online tools let you share information with your group. You could use Notepad or even email.
The problem is, that the notes from those services will not show on your WordPress site.
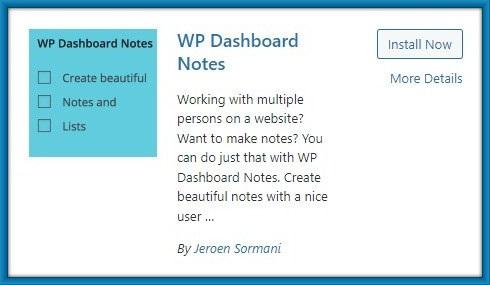
The plugin helps save your details and information. it also supports multiple, colored, public and private notes.
Step 1: First of all install and activate the WP Dashboard Notes plugin.
Step 2: After installing the plugin, you can see the +Add note word at the top of the WordPress dashboard.

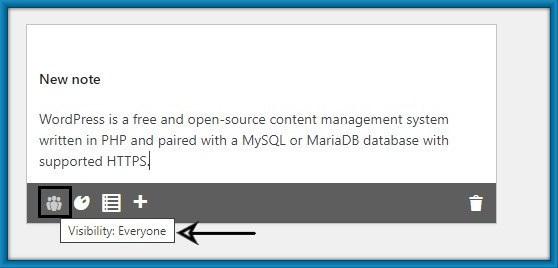
Step 3: Click +Add note then you can see the New note section like the below image.

Step 4: Visible your note to everyone then click on the Visibility tool.
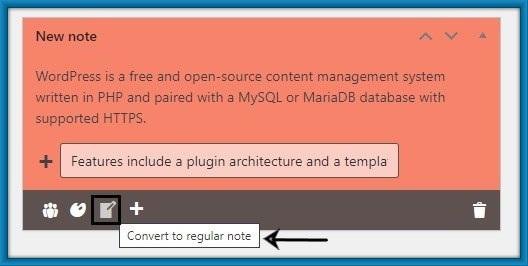
Step 5: Give the color of your note then click on the color tool.

Step 6: Convert your note to list type then click on the note tool. Also, change notes in the regular notes to record notes.
Step 7: Edit your note title then click on the pencil tool.
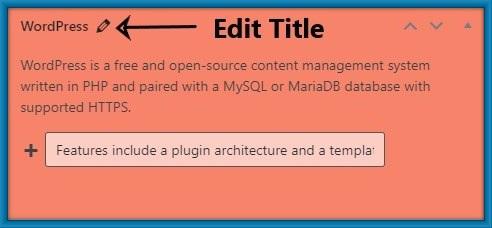
Step 8: You can Add more notes then click +icon.

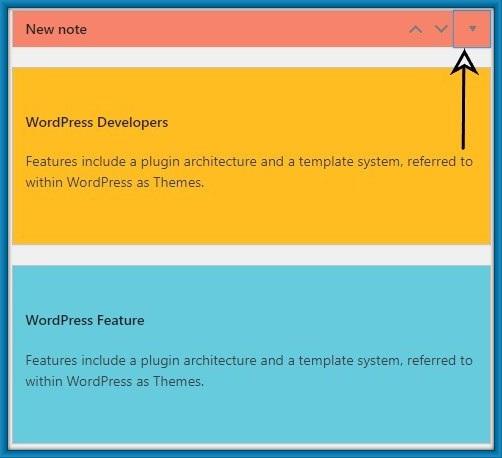
Step 9: If you would like to place your notes individually, you can click on the up and down arrows.

Step 10: The note now uses much less space on the screen so that you can see more notes at once. Clicking on the same icon will expand the note.
Step 11: Clicking it will directly delete your note without a confirmation.Because this can’t be undone(Undu).
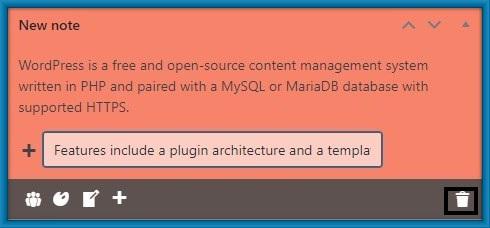
Note: Here not have Publish or save button because This note is automatically saved in your dashboard.
You may also like