Welcome to CodeCrew Infotech


How To Edit Header In Shopify
Shopify is generally divided into 3 parts:
1. Header
2. Footer
3. Body
1. Header:
This section contains the navigation menu of the store, the logo of the store, and the name of the brand logo and shopping cart.
2. Footer:
In this block of the section where the footer menu is located also social media links and contact information are there.
also, this section is located bottom of the store.
3. Body:
This block is located between the header and the footer. every page has the same content as the header and footer but the body is dynamic it changes frequently.
in this blog of content, we will discuss the header section.
How to Edit Header section.
First, know about the detail of the header which is divided into 2 parts 1st is the announcement bar in this section you can set messages like the welcome message.
Second is the header section where the logo, logo size, menu, and many more are there. you can also create a custom logo in Shopify and the size of the logo must be in pixels.
Step 1: The first login in Shopify admin then click on theme and click on customize.

Step 2: Click on the theme page in-store.
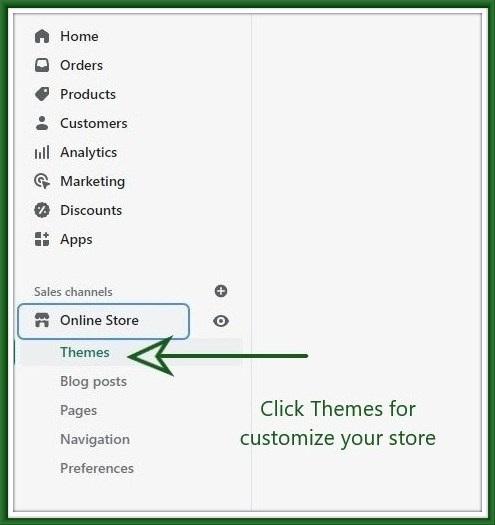
Step 3: After clicking on a theme from the left sidebar click on the default theme customization button.

Step 4: After customizing click on the header section.
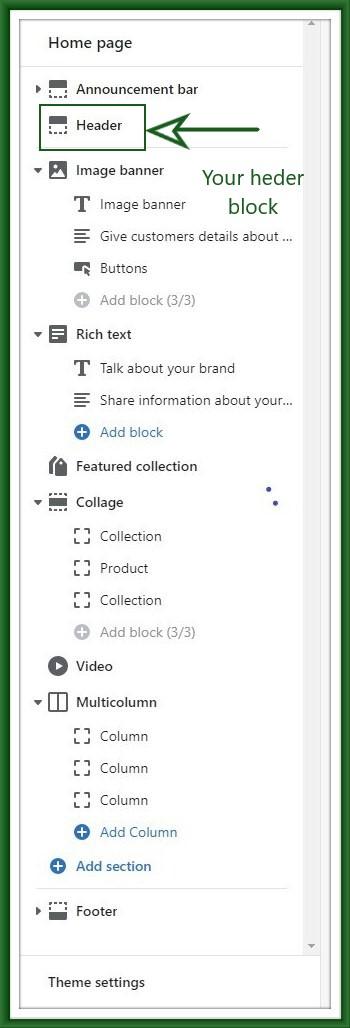
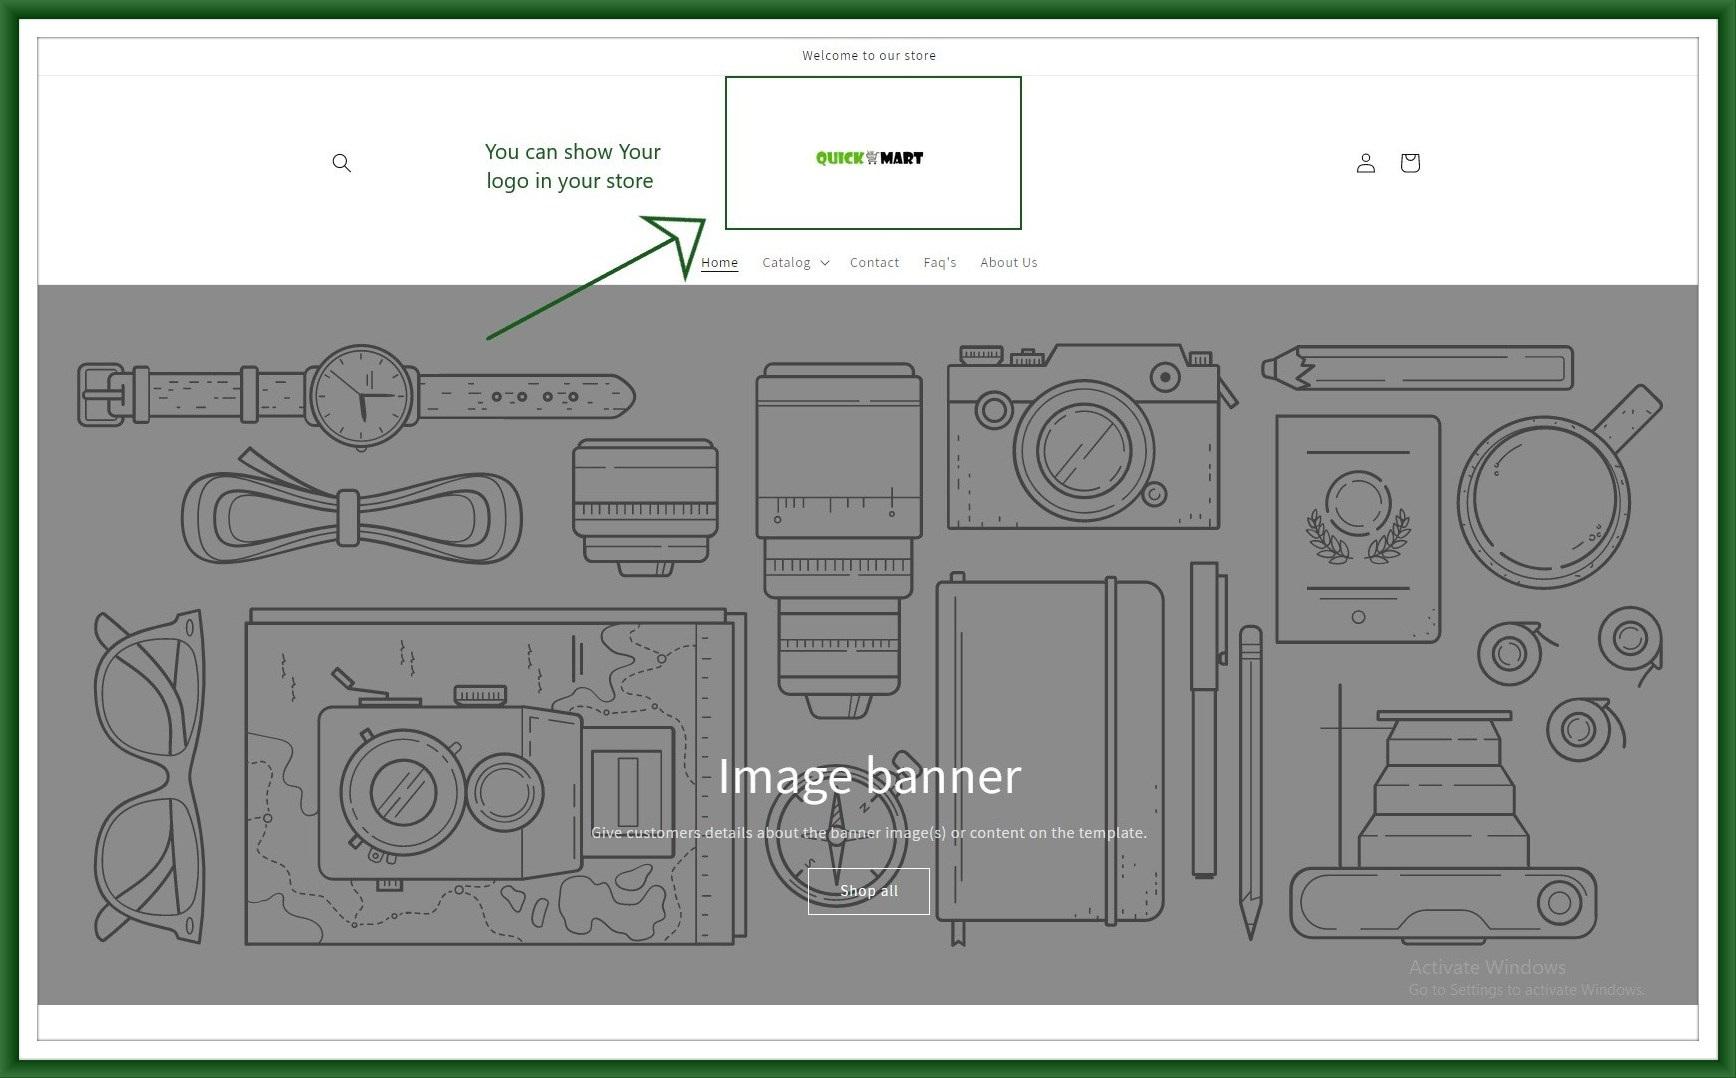
Step 5: This is the header section where you can change the color scheme, logo images, and size of images.
you can also set logo positions like middle left, top left, or top center.
in the menu section, you create your menu from the navigation also Shopify provides in the built menu.

Step 6: Click on select images and upload images from your file section.
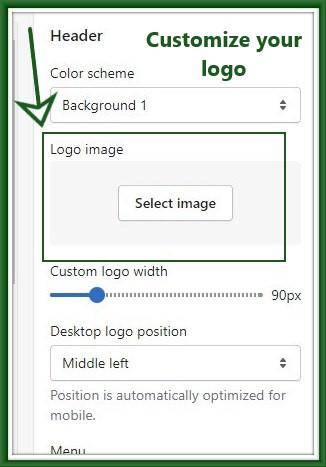
Step 7: Click on the logo and upload the logo from your file.

Step 8: looks like we set the logo in the header section.
Step 9: if you want to set the announcement bar in the announcement bar section, for example, the shipping is free for orders up to 50$.
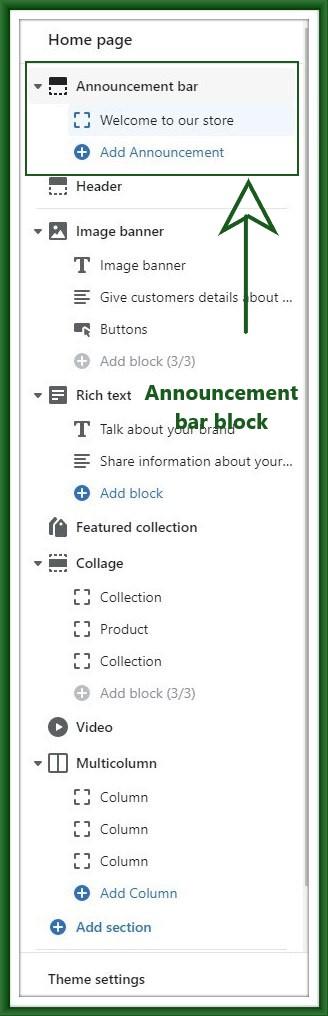
Step 10: you can also set the name of the announcement bar color scheme. you can also set a link in the announcement bar section.

Step 11: This is your announcement bar.

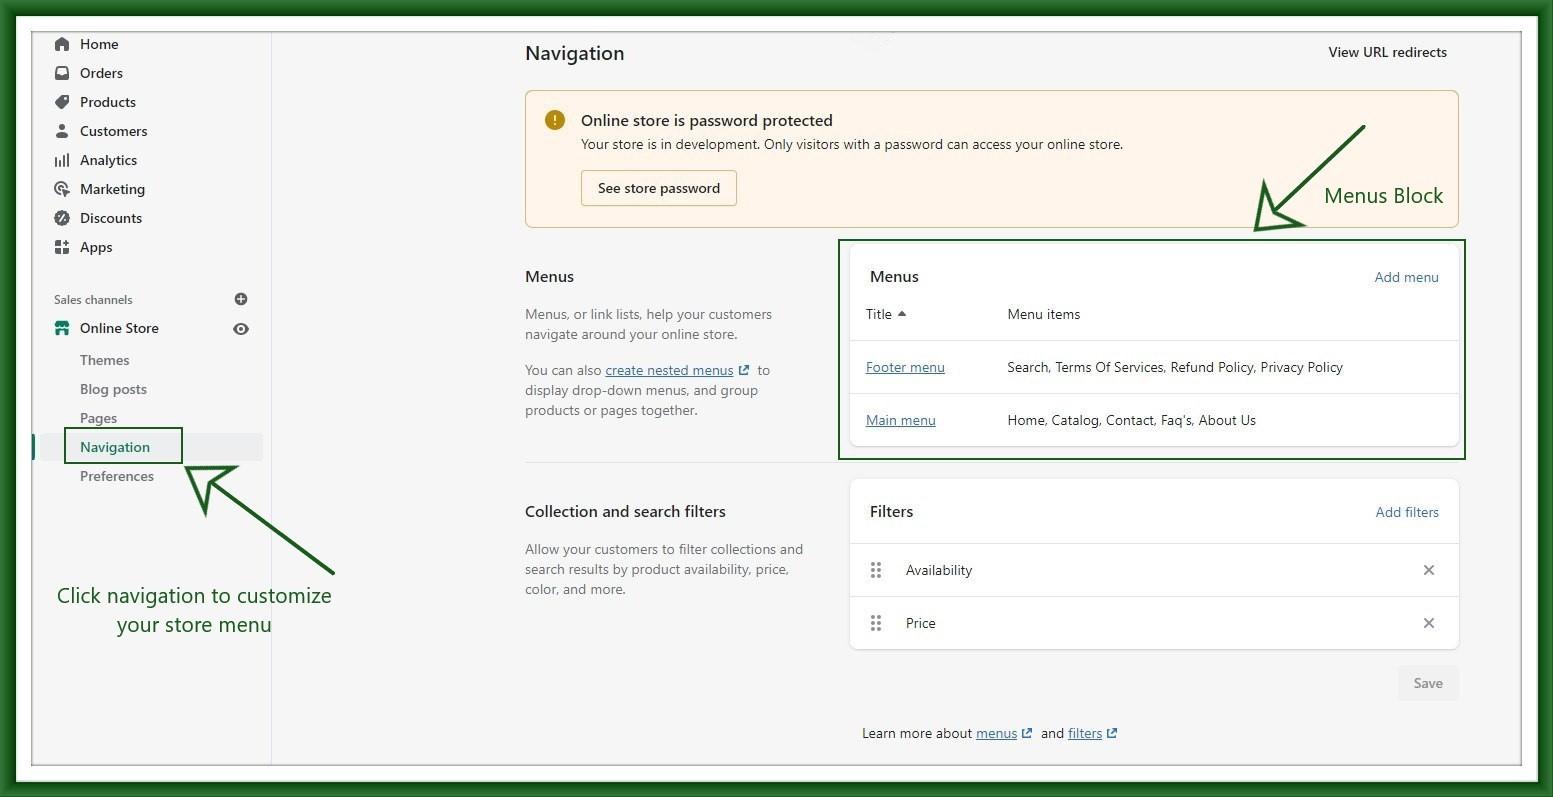
Step 12: Then after logo completion click on the menu section. in the left sidebar go to navigation then you can see the menu block on the right-hand side. click the header menu or footer menu.
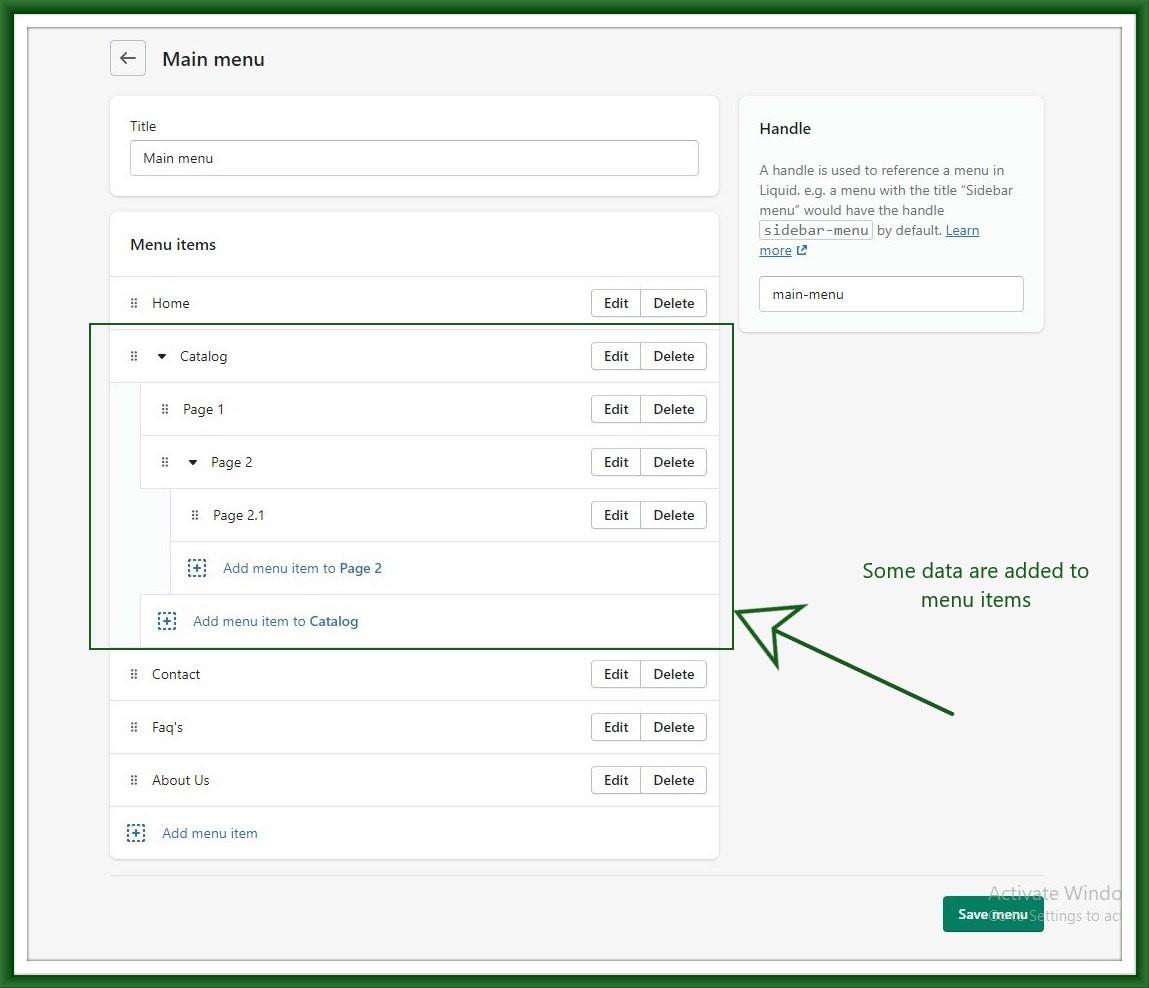
Step 13: Then create your main menu sometimes theme provided menu you can just edit it, you can also create a sub-menu from the main menu.

Step 14: This is a sub-menu from the main menu.
Step 15: This is your preview page where the sub-menu looks like that.

You may also like