Welcome to CodeCrew Infotech


How To Create Menu In Shopify
The main menu of your savings can navigate your clients to any web page on your websites, such as product pages, collection pages, store policies, blog posts, and lots more.
It usually appears as a list of items throughout the header or inside the sidebar.
The location of the menu and its look normally rely upon the theme that you use, but it also may be fully customized.
you can also create a menu group and organize similar items such as collections and products with this option customers can identify the products they are searching for.
navigation of your store makes the store more reliable and useful to customers if you want to create a menu then follow these steps.
How to create a Shopify drop-down menu.
Step 1: follow this click on Online store > Navigation and then select Add menu.

Step 2: In general two types of menus are there in Shopify.
1) Main menu:- Its header menu
2) Footer menu:- It contains at the end of the page
Here, we select the Main menu and already our theme gives three menus in-built we create a new menu to click on Add menu items.

Step 3: After adding menu items right sidebar opens where two options.
1) Name:- Name of the menu you want to create.
2) Link:- In the Link, you can set a link to the inner website resource such as homepage, collections, products, special pages, search pages, politics pages, blogs, blog pages, etc.

Step 4: After successfully creating the menu it will be shown in the menu list items.
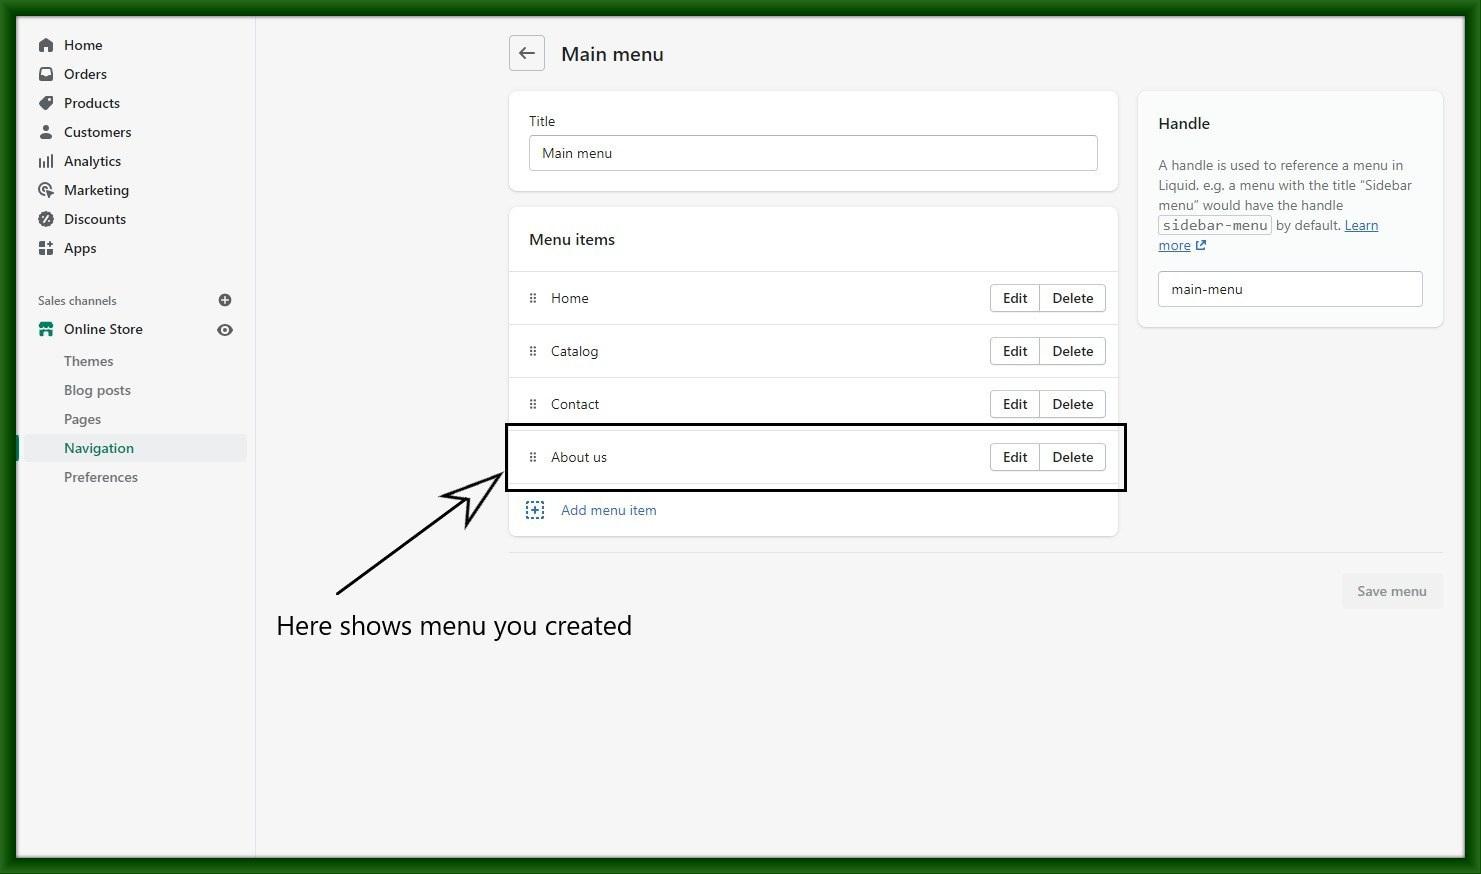
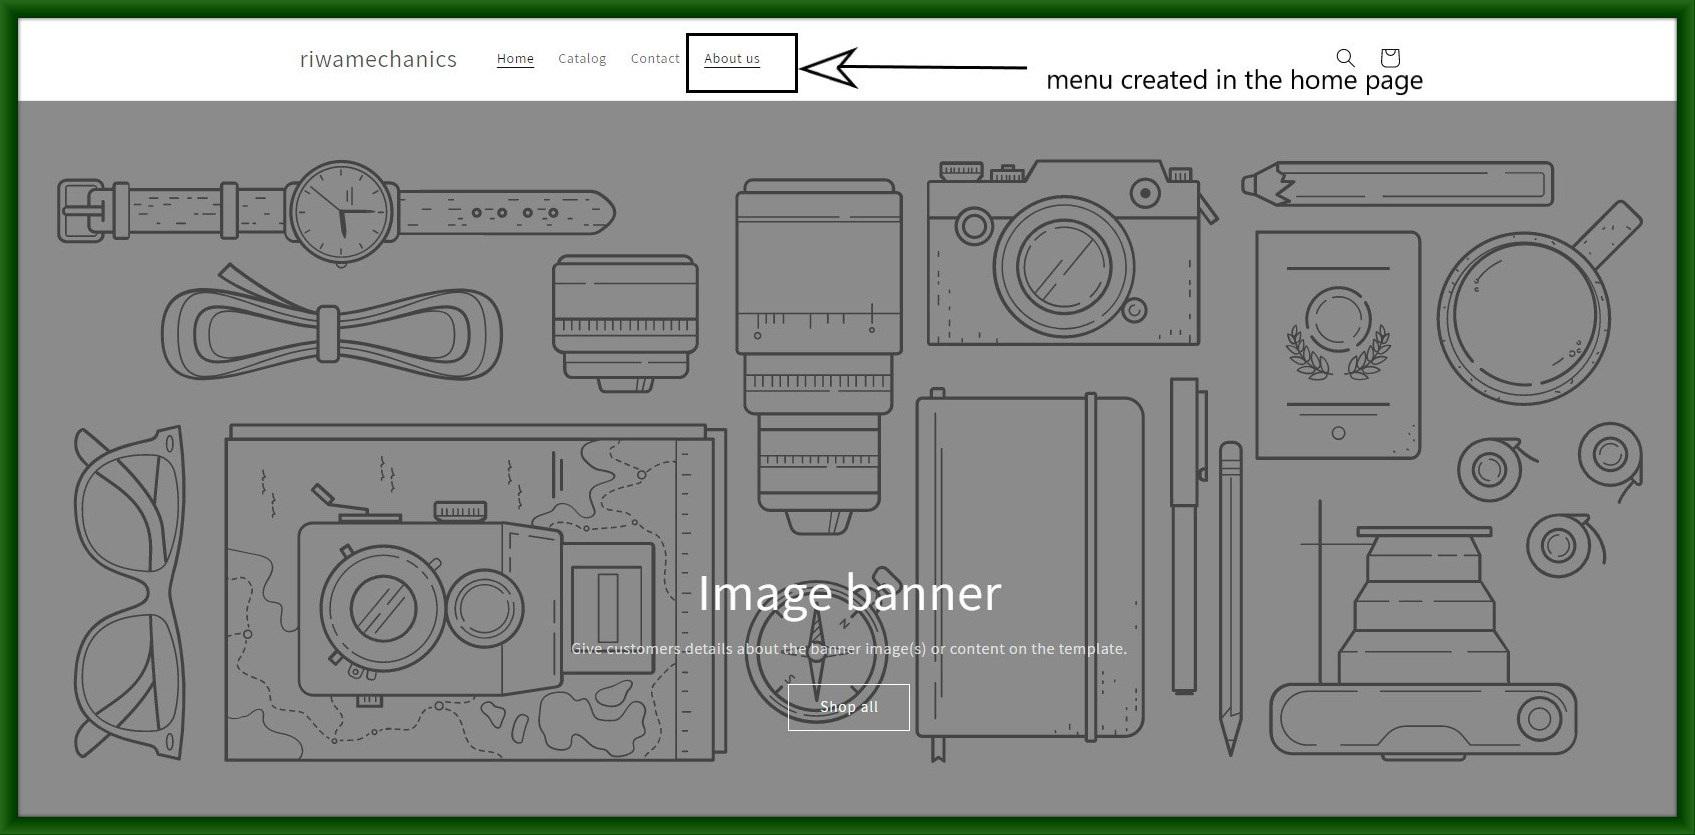
Step 5: Finally, Your menu has been added to the website.
You may also like